
Last week on Star Wars: The Bad Batch, the Bad Batch set out to remove their inhibitor chips on a decommissioned Star Destroyer. They barely survived the encounter after one of their chips unexpectedly activated. This week is no less heart-pounding and treacherous, so make sure to watch last week’s episode unless you want to be ambushed by SPOILERS!
Still here? Then get ready to run, because you are not prepared for how intense this episode gets!
RELATED: Star Wars: The Bad Batch Recap: (S01E07) Battle Scars
On Kamino, Vice Admiral Rampart (Noshir Dalal) argues with Prime Minister Lama Su (Bob Bergen), informing the Kaminoan leader that the Galactic Empire is to be informed of all activities on Kamino, even those ruled as internal Kaminoan affairs. Crosshair (Dee Bradley Baker) interrupts with news. The Scrapper Guild detected a power surge on a derelict Jedi cruiser on Bracca, and Crosshair verifies that it is the defectors from Clone Force 99.
Though Lama Su argues that the Bad Batch are highly skilled assets and should be captured alive, Rampart orders Crosshair to terminate the deserters.
On Bracca, Wrecker (as with the rest of the Bad Batch, played by Dee Bradley Baker) provides Omega (Michelle Ang) a standard clone education. Which is to say, how to disassemble a thermal detonator. For Wrecker’s intense lesson, Omega attempts to disarm the explosive with just a 10-second timer (fortunately, it is just a smoke bomb).
Echo arrives to bring Wrecker and Omega back to the Star Destroyer. On their way back, Echo and Wrecker detect three scrappers spying on them. Echo stuns them, bringing back the unconscious scrappers to Hunter and Tech.
Back at the wrecked Star Destroyer, Echo asserts that the Bad Batch should leave now that a patrol has spotted them. Hunter argues that their biggest priority is paying off their debt to Cid. Tech reveals that the armory and artillery have not been emptied yet (likely due to the dianoga scaring off scrappers). Not to mention any intel on the bridge would be worth far more than any single weapon.
Echo protests that the Bad Batch are becoming smugglers and arms dealers. Hunter argues they need to take whatever opportunity they find. Tech heads to the bridge to restore power and gather intel, while the rest of the Bad Batch runs to the armory.
In the armory, Wrecker is ecstatic to learn that not only are the thermal detonators almost fully stocked but over half of the proton torpedoes remain too! Omega leaves to assist Tech on the bridge.

If blowing up Admiral Trench’s fleet was the best day of Wrecker’s life, then finding an almost fully stocked armory is easily his second best.
Echo grumbles that they should have abandoned paying their debt to Cid and joined up with Rex’s rebel cell. Hunter claims that fighting the Empire isn’t the path for the Bad Batch, to which Echo retorts what else should they be doing?
RELATED: Gays in Space: 6 Queer Sci-Fi Books You Should Read
On the bridge, Tech is busy transferring data files from the bridge’s hardware. He asks Omega to copy the ship’s master drive, but Omega notices a blinking red light. Tech identifies it as the proximity sensor and optimistically hopes it is a short circuit. That hope dies when three Imperial Nu-class attack shuttles fly past the bridge and land nearby.

Crosshair brings Elite Squad and three platoons of clone troopers to hunt down his former unit.
Back on Kamino, Nala Se (Gwendoline Yeo) meets with Prime Minister Lama Su, who informs the Kaminoan scientist that they can no longer delay. The Imperial assault on the Bad Batch is a threat to the Kaminoan “contingency plan.” Lama Su is calling upon further assistance.
Though Nala Se tries to reassure that they already have someone handling the matter, Lama Su insists that more bounty hunters will ensure that one of them will succeed in bringing the young clone (Omega) back to Kamino intact.

Nala Se and Prime Minister Lama Su plot to take extreme measures to secure their planet’s interests.
From the Star Destroyer bridge on Bracca, the Bad Batch watch as the shuttles offload almost 100 clone troopers (including Crosshair and Elite Squad). Tech begins blocking their scanners to prevent detection, with Wrecker grabbing a crate of explosives and a proton torpedo.
When ES-03 (Ness Bautista) reports atmospheric interference with the scanner, Crosshair instantly recognizes Tech’s handiwork. Crosshair orders a third of the troopers to take a shuttle and find the Havoc Marauder. As the clone platoon secures the Bad Batch’s shuttle, Elite Squad and the remaining clones begin sweeping the Star Destroyer.
Tech taps into the Imperial comms, overhearing that Crosshair is planning an ambush at the hangar. When the Bad Batch cuts through the artillery deck instead, the Imperial troopers ambush and corner the deserters. Crosshair mocks Tech for predictably tapping their comms to track enemy movements.
Crosshair’s familiarity with The Bad Batch’s tactics allows him to lure them into a trap.
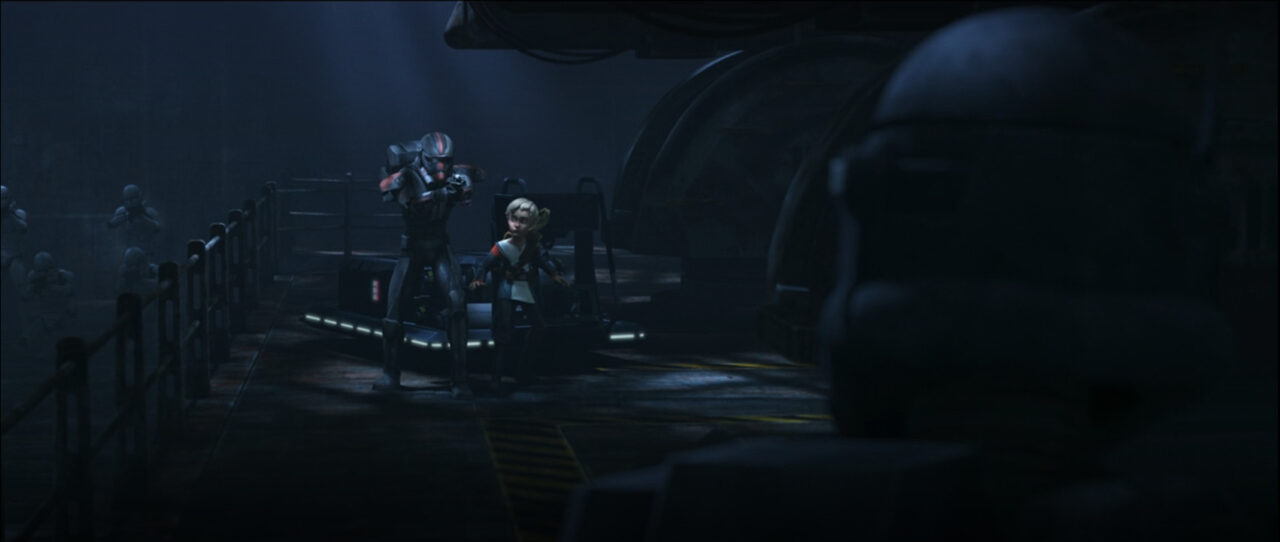
While the rest of the Bad Batch stall for time, Echo and Tech hack into the artillery guns in the hopes of collapsing the entire deck. Hunter pleads with Crosshair, explaining the inhibitor chips. Omega confirms Hunter’s claim and pleads with Crosshair to remember what she said in the brig. Crosshair responds by coldly ordering the Imperials to shoot the kid first.
Tech fires the artillery gun, which knocks back Crosshair and a third of the clone troopers. As the guns fire and the artillery deck collapses, the Bad Batch blast their way out. Though ES-04 (Daheli Hall) tries to cut them off with her flamethrower, Wrecker knocks her out with his proton torpedo.
Tech leads the Bad Batch into one of the engines, planning to exit aft through the empty chamber. Back in the artillery deck, Crosshair regains consciousness. Ordering ES-04 to the bridge, Crosshair has a shuttle pick up himself and his men.
RELATED: Loki Prep: Who Is the Time Variance Authority?
Though the Bad Batch makes it to the end of the engine chamber, Crosshair’s sniper shots cut them off as Imperial troopers surround the engine. When the Bad Batch tries to double-back, the engines start to come online. Tech matter-of-factly reveals that he had to reactivate the main power core to access the bridge systems. Tech estimates two minutes before the engines reignite and incinerate them.
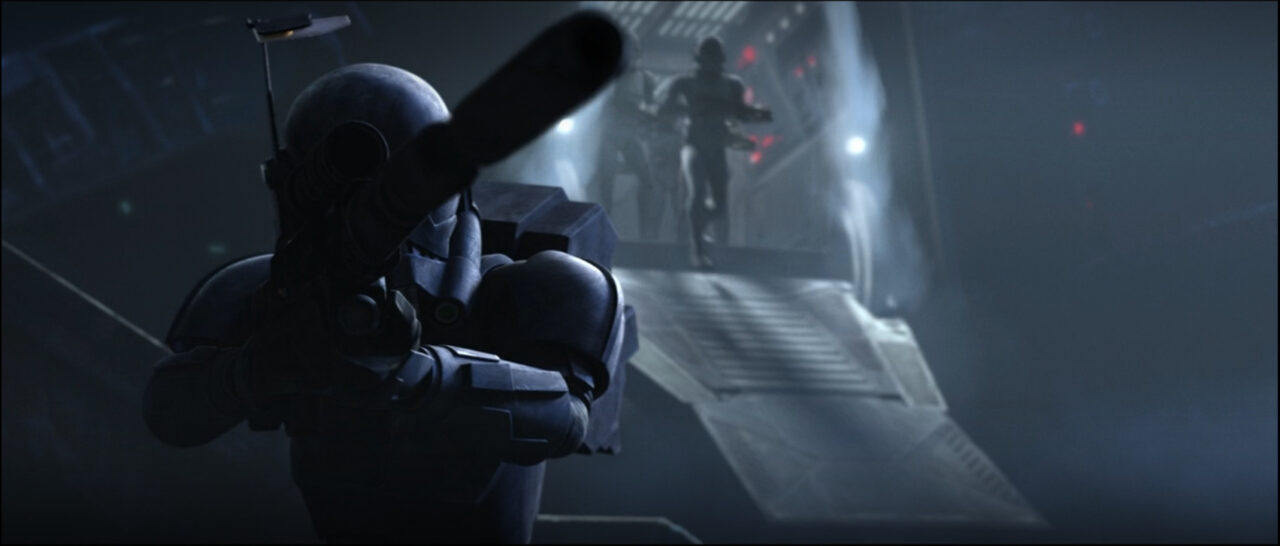
Crosshair and a platoon of clones cut off The Bad Batch’s escape.
Hunter proposes using Wrecker’s explosives to disable the engine, but Tech points out that even the entire crate wouldn’t cause a large enough reaction. However, if they strategically place explosives around the chamber, they may be able to separate the exhaust cone and fall before the engine ignites.

The Bad Batch use explosives to separate the exhaust cone from the engine, causing Crosshair and his platoon to get the full blast from a Star Destroyer’s engine.
As the engine engages, the explosives detonate and the exhaust cone breaks away. The destabilized engine badly burns Crosshair as the Bad Batch is separated. Hunter and Omega fall down below the engine, but the rest of the squad falls to the port side. Under fire from the Imperial shuttles, Hunter orders the squad to rendezvous back at the Havoc Marauder.
As the Imperial troopers call for a medic for Crosshair, they check in with the troopers left to secure the Bad Batch’s shuttle. There is no response. As Hunter and Omega arrive, they find the shuttle surrounded by dead clones. Hunter realizes that someone else is here.
A Duros bounty hunter emerges from the ship with a techno-service droid, complaining that clones are too easy to kill. Once you figure out how to kill one, the rest don’t take much work. Longtime viewers of Star Wars: The Clone Wars will recognize this pair as the infamous Cad Bane (Corey Burton) and his droid Todo 360 (Seth Green).
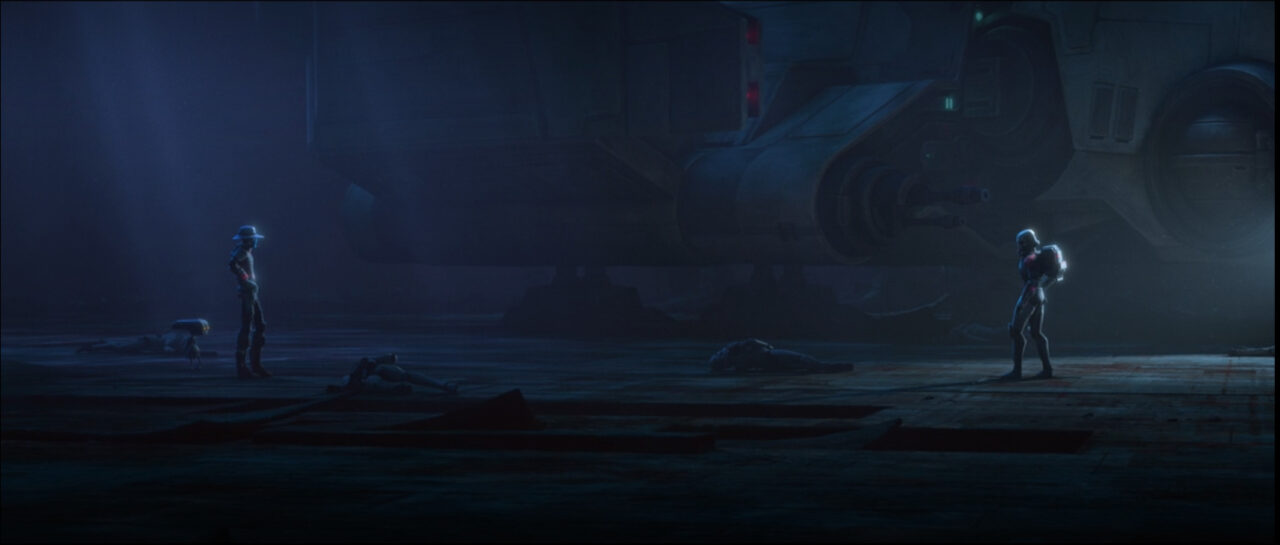
Cad Bane faces off against Hunter in pursuit of his quarry.
Hunter demands to know who hired Cad Bane. The bounty hunter responds by demanding that Hunter hand over Omega. Hunter insists that she’s not going anywhere, and the two square off for a showdown.
Hunter is quickest to draw, but Bane is quicker to fire. Bane hits Hunter square in the chest, causing Hunter’s shot to go wide and hit one of Todo’s booster legs. A shocked and distraught Omega runs up to Hunter and urges him to get up, but he is still and unmoving. Omega tries to draw her energy bow, but Todo knocks it away. Cad Bane apologizes before stunning Omega.

Crosshair suffers severe burns and injuries from his mission on Bracca.
Echo applies some bacta to Hunter, and we see the escape from his perspective. As the Havoc Marauder flies off, Hunter struggles to breathe. He manages to choke out that a bounty hunter took Omega and the Bad Batch has to find her.
RELATED: Check out all of our recaps for Star Wars: The Bad Batch!
Were you shocked by the return of Cad Bane? What makes Omega so important to the Kaminoans? Could this be the early seeds of a Kaminoan uprising against the Empire? Will Crosshair receive his own Vader-like reconstruction as he recovers from this mission?
It doesn’t matter how dire things look: Geek Girl Authority will have your next big score for Star Wars and more!

- STAR WARS: Most Powerful Sith Lords - May 4, 2024
- GGA’s Favorite Foods From Our Favorite Video Games - February 5, 2024
- What You Should Know Before EXANDRIA UNLIMITED: CALAMITY - May 25, 2022