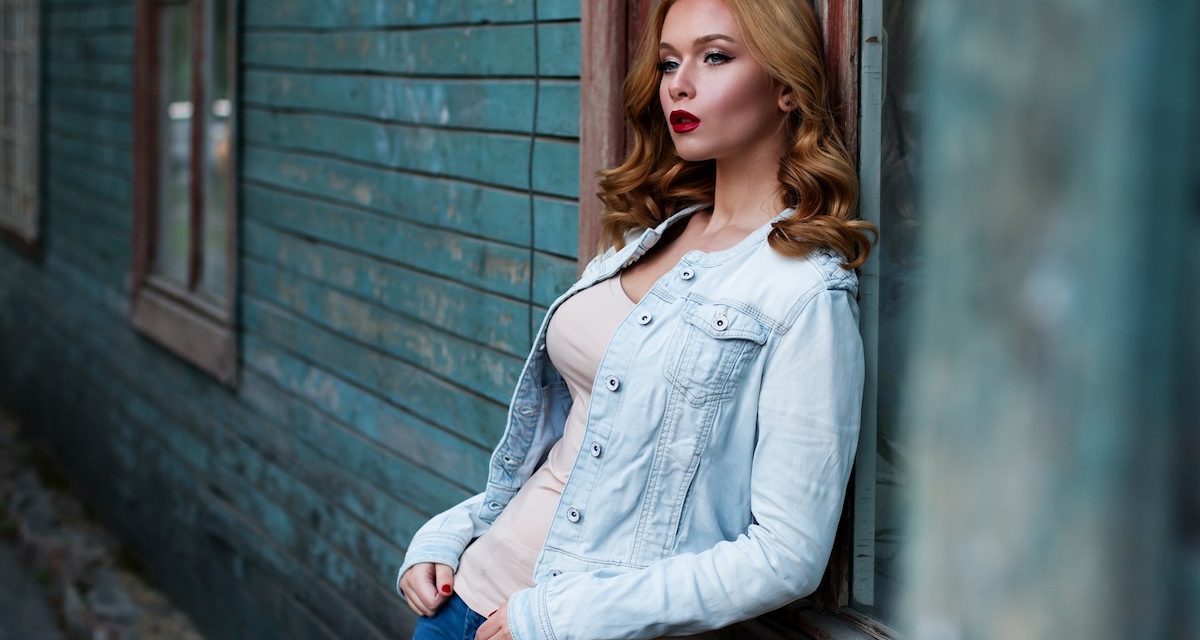
We’re all looking for a new way to step up our Instagram game, but not all of us have the budget to travel around the world to take photos like social media influencers. Studio photos with stunning quality aren’t that easy to pull off, either. We’re often left with taking pictures of our daily life, but what if I tell you that it’s possible to turn these simple photos into a cinematic masterpiece?
Today we’ll be talking about how you can process photos using cinematic filters. How do you make a personalized cinematic filter from scratch? How can you use these cinematic filters for your photos? Read on to find out.
Important Preparations

The first step in making your cinematic filter is to choose a photo editor. Luminar 3 is a good choice for first-timers because the application is simple, effective, and easy to use.
It’s important to familiarize yourself with the different functions of your photo editor before creating a cinematic filter. Sometimes you’ll see features such as image autocorrect for photos taken with incorrect camera settings.
As a rule of thumb, always make sure that the image has good quality before applying your cinematic filter. Otherwise, you’ll find some glaring errors that will spoil the look you want to achieve. Once you’ve achieved your perfect picture, you can bring your home or office walls alive with your photos by visiting Wallpics.
Make Your Cinematic Filters
Now that you’re familiar with the different features of your photo editor, it’s time to create the filter. Just like other filters, your cinematic filter works through what is called color correction. This means you’ll be balancing the colors to give your photo a different mood or theme. After that, you can choose to save the settings so that you can easily apply them to your other images.
A cinematic look is achieved by borrowing inspiration from the color scheme of your favorite movies. Using this color scheme as your basis, you’ll be able to tweak your photo’s style to make it more dramatic. How is this different from cinematography’s color grading? The truth is there’s not much of a difference except that you’re applying these principles to a photo instead of a movie. Another great way to share your story is through podcasting. Pouch 6 Studios can serve as your one-stop shop for this purpose.
RELATED: STAR TREK Panels Unveiled for WonderCon 2024
To make a cinematic filter, you need to tweak the following values on your photo:
- Shadow – Cinematic photos require image depth that comes from well-emphasized shadows. The subject of your photo becomes more distinguishable when there are shadows that outline its figure. As a result, you’re able to draw attention straight to the photo’s subject.
- Blur and Sharpness – Cinematic photos always have intentional blurs and added sharpness to emphasize the important parts. Adding blur reduces the impact of unnecessary objects and spaces in your photo while adding sharpness helps draw attention to that object. Balancing these two values can help you direct attention straight to where you want it to be.
- Brightness and Contrast – Color intensity is another important aspect of a cinematic photo. Too much color is painful to the eyes, while too little color will make the photo seem dull and boring. You need to balance the intensity of colors to match the mood you’re aiming to achieve.
- Hue, Saturation, and Luminance (HSL) – Color grading is always the artist’s personal choice. There’s no right or wrong when it comes to adjusting these values. The most important thing to remember is that the colors you choose should blend well with your image.
After that, you have the option to add photo effects from your editor, such as the following:
- Blending modes
- Noise reduction
- Cropping
- Film Grain
- Automatic Color Grading / LUTs
Choosing Presets and Filters
Your custom-made cinematic filter might not always be a good fit for the photo you want to edit. Instead of making a new filter, you might want to check out the existing presets and filters in your photo editor.

With this, all you need to do is to mix and match the presets with your photos to achieve your desired cinematic color looks. You may also find user-made filters and guides on forums if you’re searching for other cinematic effects.
Some filters, such as those found in Luminar 3, have sliders that can be adjusted. These sliders allow you to modify and blend different filters to achieve your desired effect. As a result, you have more freedom to edit your images without needing to start from scratch.

Conclusion
Making your own cinematic filter is all about the mood and the lighting of your image. At the end of the day, what makes your photos interesting is how the visuals tell your story. Now that you’ve learned how to make and use filters, you have more options for creating eye-catching posts for Instagram. Don’t be afraid to experiment—all it takes is a little imagination to come up with photos that truly stand out.
Retro Revisits: In the Beginning There Was the COMMODORE VIC-20
- Anime Cosplay Ideas and How to Nail the Look - April 24, 2024
- Will the Star Wars Outlaws Pros Outweigh the Highly Publicized Con? - April 24, 2024
- Top Esports Games of 2024: Most Popular Choices for Betting - April 24, 2024

